There is such a situation that many DIY players and computer maintenance personnel may not know that the USB 3.0 support status on Intel motherboards is fundamentally different before and after the 7 series. This is directly related to the choice of drivers and the convenience of system installation.
Generational divisions supported by USB 3.0
Starting from 7 series motherboards, such as Z77, H77, etc., Intel began to natively support USB 3.0. Prior to this, although the 6 series motherboards also provided USB 3.0 interfaces, they relied on third-party chip solutions, such as controllers from ASMedia or Fresco Logic. This means that the driver installed by the user is not official from Intel, so there may be differences in stability and performance.
Starting from the 8 series motherboards, Intel has provided the second-generation USB 3.0 driver, whose performance and compatibility have been further improved. Driver versions are generally backward compatible, which means that newer drivers can be used on older chipsets that support native USB 3.0, resulting in a better experience. Knowing this hardware generation difference is the first step to correctly install the driver.
Driver version and system compatibility changes
The early version of the Intel USB 3.O driver once provided support for Windows XP systems and also provided support for Vista systems to meet market transition needs. However, because Microsoft stopped maintaining these old systems and due to hardware iterations, subsequent new versions of the drivers gradually lost compatibility with these old operating systems. Today, Intel's official drivers mainly support Windows 7 and newer operating systems.
This change has a direct impact on users who are using old systems. If you plan to install Windows XP on a newer Intel platform, you may encounter a situation where you cannot find a suitable USB 3.0 driver and thus cannot use the keyboard and mouse. Therefore, when planning the system installation, you must confirm the compatibility of the driver with the target system in advance to prevent the operation from being unable to operate after the installation is completed.
Special requirements for Windows 7 systems
Even if it is an Intel chipset that natively supports USB 3.0, you have to manually install the driver under Windows 7 system environment. This is because when Windows 7 was released, the USB 3.0 standard had not yet been widely popularized, so the relevant drivers were not built into the system. As a result, during the new installation of Win7, the USB interface is very likely to be completely unusable, and the installation program cannot recognize the USB flash drive or mobile hard disk.

The key to solving this problem is to pre-integrate the driver into the system installation disk, or prepare a PS/2 interface keyboard and mouse so that you can manually install the driver after installation. As for computers from Lenovo and other brands, users can generally obtain dedicated drivers that have been tested for specific models from the official website to ensure maximum compatibility.
Driver download and chipset driver preparation
For those who use Lenovo computers, the surest way to win is to visit the official support website provided by Lenovo and find the driver through the host number or specific model. The USB 3.0 driver may be included in the "Motherboard and Chipset" directory framework and become one of them, and it may also have a unique driver entry as its exclusive logo. Be sure to download the version that exactly matches the operating system (32-bit or 64-bit) without any discrepancies.
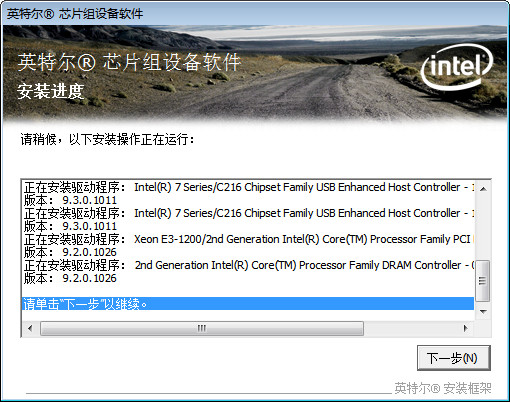
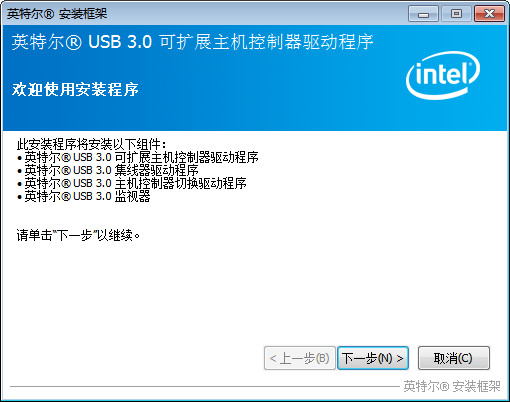
A critical step that is often overlooked is to install the Intel chipset driver before installing the USB 3.0 driver. The basic identification and functional support of the motherboard chipset are provided by the system through the chipset driver, which is the basic requirement for the stable operation of other hardware drivers. Run the downloaded program and follow the wizard prompts to implement it, and finally restart the computer. After doing this, the installation process is usually very simple, that's it.
Steps to manually install USB 3.0 driver
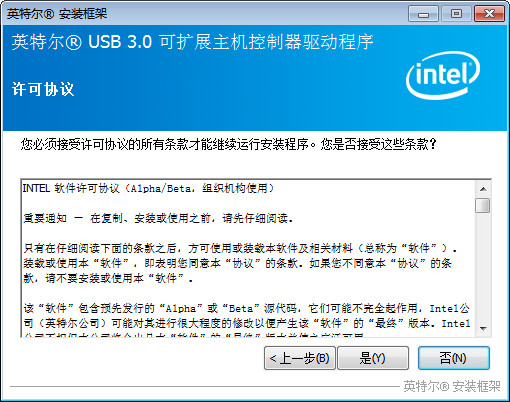
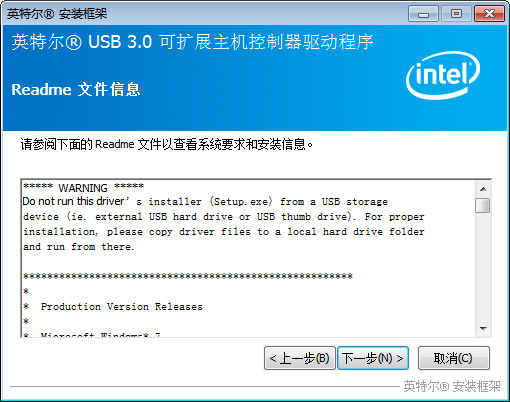
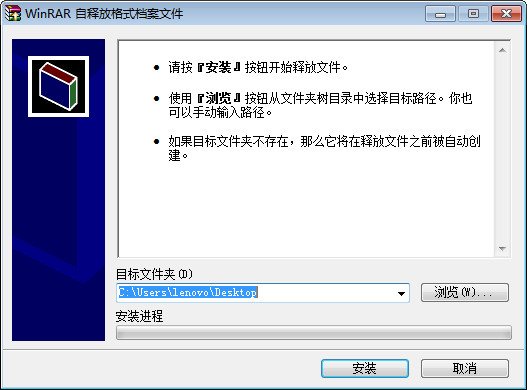
After completing the installation of the chipset driver, you can start installing the USB 3.0 driver. Run the driver installation program downloaded from the official website, and it will automatically decompress the files into a temporary directory. After this, the installation wizard starts, and the user generally only needs to click "Next" or agree to the license agreement, and no complicated settings are required.
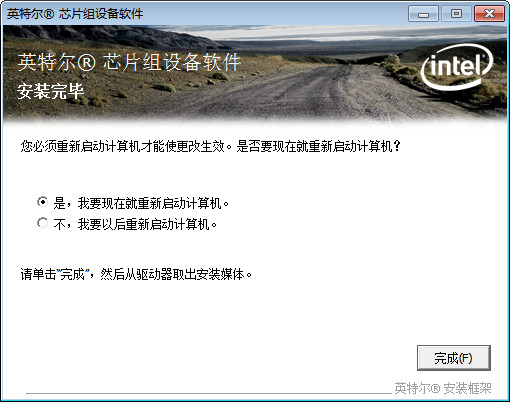
After the installation is complete, the system will prompt you to restart the computer. This is a necessary operation to ensure that the driver can be fully loaded and the effect will be displayed. After restarting, the USB 3.0 controller can be accurately recognized by the system, thus demonstrating high-speed transmission performance. Although the stages of the entire process are clear, the order cannot be reversed, otherwise the installation may fail.
Post-installation verification and scope of application
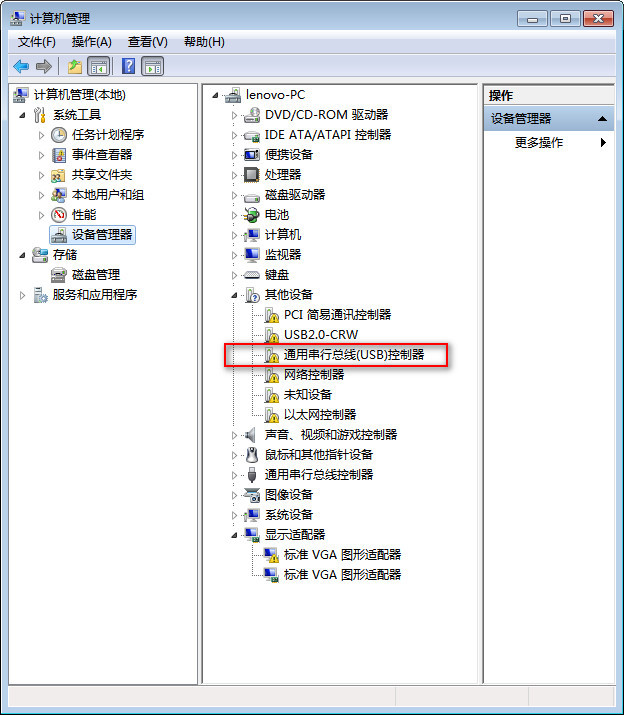
After the computer has restarted, it is time to verify whether the driver was successfully installed. The most direct way is to open the "Device Manager" and take a look at the "Universal Serial Bus Controller". If the previously unknown device with a yellow exclamation mark or question mark disappears and is replaced by a normal device with the words "USB 3.0 Extensible Host Controller" and other words, this means that the driver has been installed correctly.
It is important to point out that this manual installation process is mainly applicable to Windows 7 systems using the native USB 3.0 interface of the Intel chipset. For some newer Windows 8, 10 and 11 systems, most Intel USB 3.0 drivers are already built-in and do not need to be installed manually. For older 6 series motherboards that may not have Intel chipsets, you need to find corresponding third-party solutions.
During the process of reinstalling the Windows 7 system on an old computer, have you ever encountered USB driver problems that caused the keyboard and mouse to become useless? How did you finally solve the problem? You are welcome to share your experience. If you think this article is of practical use, please support it by giving it a like.