
If you want to be able to clearly see both bright and dark details in one photo, you can try to combine multiple photos with different exposures.
How exposure blending works
When taking the same scene, photos that are too bright will cause the details in the dark parts to be lost, while photos that are too dark will erase the information in the bright parts. The so-called exposure blending technology is to superimpose multiple photos with different exposure levels, extracting shadow details from the bright photos and extracting highlight details from the dark photos.
The software will analyze the pixel information of each photo, use algorithms to perform intelligent screening, and perform fusion. This is of course not a simple superposition, but to selectively retain the most appropriately exposed areas in each photo, and finally combine them into an image with rich details from dark to light.
Core functions and multiple modes
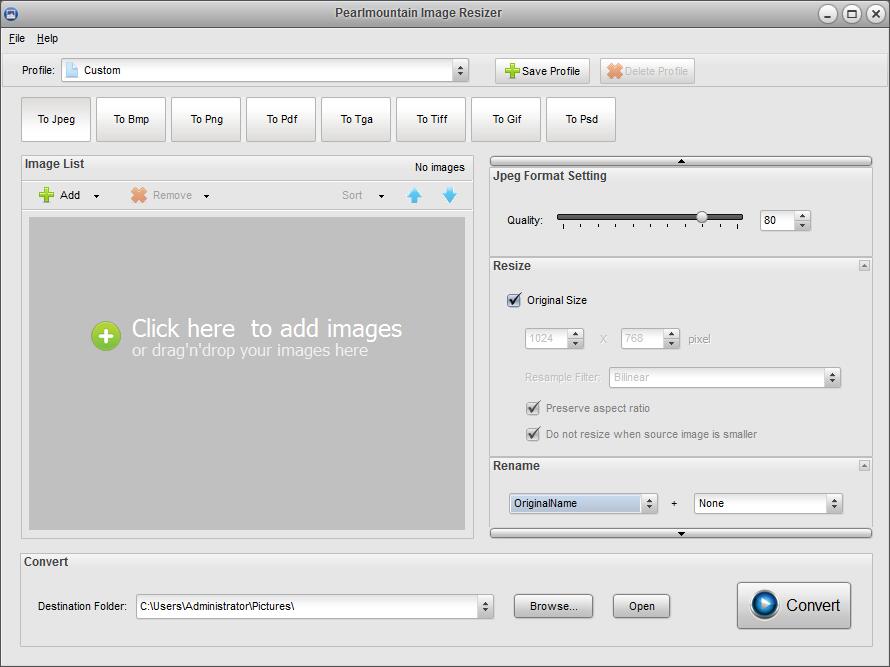
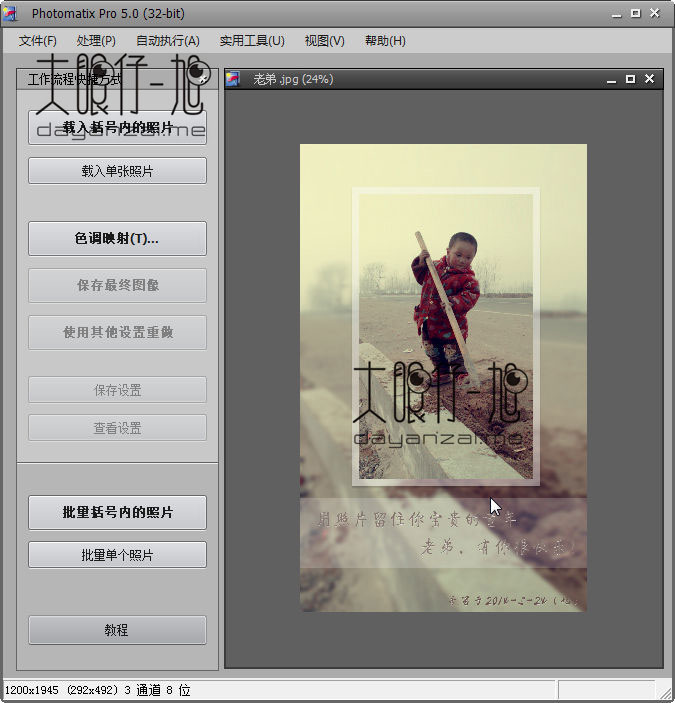
Taking the Pro Chinese version as an example, this type of software often provides a variety of mixing algorithms. Common modes include the "average" mode, which calculates the average of all photo pixels and is suitable for scenes with gentle light. There are also modes based on different algorithms such as brightness weighting and contrast analysis.
Users can make choices based on the characteristics of the scene. For example, when dealing with backlit portraits, they can choose a mode that focuses on restoring facial shadows, and when shooting scenery, they can choose a mode that preserves the details of sky clouds. Different algorithms lead to the visual emphasis and style of the final composite photo.
Get better results from RAW files
The key is to use the original RAW format photos taken by the camera to achieve high-quality synthesis. RAW files record the extremely original photosensitive data of the sensor. The dynamic range of this data is far greater than that of compressed JPEG photos. Multiple images with different exposure values can be decompressed from the same RAW file.
These images generated from the same raw data do not have alignment problems. In this case, a purer picture can be synthesized. For scenes with a medium contrast between light and dark, such as indoor scenes with windows, using this method to process the effect will usually be very good, and can well balance the indoor and outdoor light.
Technical Limitations of Exposure Blending
However, exposure blending does not have all applicability. The effect it presents will be constrained by the dynamic range of the RAW file. If the light ratio of the scene is extremely exaggerated, such as shooting directly against the sun at noon or the corner of a dark room, then the RAW file obtained in a single shooting will not be able to record extremely bright and extremely dark details at the same time.
This method is not suitable for generating true HDR (high dynamic range) images. It is mainly used to solve the problem of details in a single photo. However, HDR is related to a broader brightness information recording and mapping technology. Although the goals of the two are similar, the technical paths and the nature of the result files are different.
The concept and process of HDR technology
Regarding HDR technology, its purpose is to record a brightness range that far exceeds that of ordinary photos. Its standard process covers two steps. The first step is to synthesize multiple photos taken through bracketed exposure into an HDR image file containing extremely large brightness information. However, this file itself cannot be displayed directly on an ordinary screen.
The second step is called "tone mapping". It compresses and maps the large amount of brightness information in the HDR file to the range that can be displayed on an ordinary screen, and preserves the subtle details of the bright and dark parts as much as possible. And this is what we finally see, an HDR rendering with rich details.
Photography Essentials and Common Tools
When shooting related materials for HDR synthesis, the camera must be fixed with the help of a tripod to ensure that the scene is completely still. It is recommended to turn on the automatic exposure bracketing function of the camera. Normal exposure should be used as the benchmark. The exposure value should be at intervals of 1 to 2 stops. The photos need to be taken continuously for 3 to 5 photos.
There are many situations in many commonly used software for HDR synthesis. It is true that some professional software has powerful functions, but it has complex features to operate. However, the HDR function in Photoshop CS2 is relatively simple and easy to use for users. Users can choose appropriate tools to create and perform such actions based on their own needs and proficiency.
Have you ever tried merging multiple photos to improve the quality? When shooting high-contrast landscapes, would you rather use exposure bracketing or rely on the HDR function built into your camera? Welcome to share your experiences and opinions in the comment area. If you feel that this article is helpful, please also like it to support it.