Flashing PVE into a device called Hardcool R2 and then completing the optimization. This series of operations can greatly improve the virtualization performance of a small host and the efficiency of network management. The practical steps shared today can also make the entire process easier and more convenient.
Prepare installation media
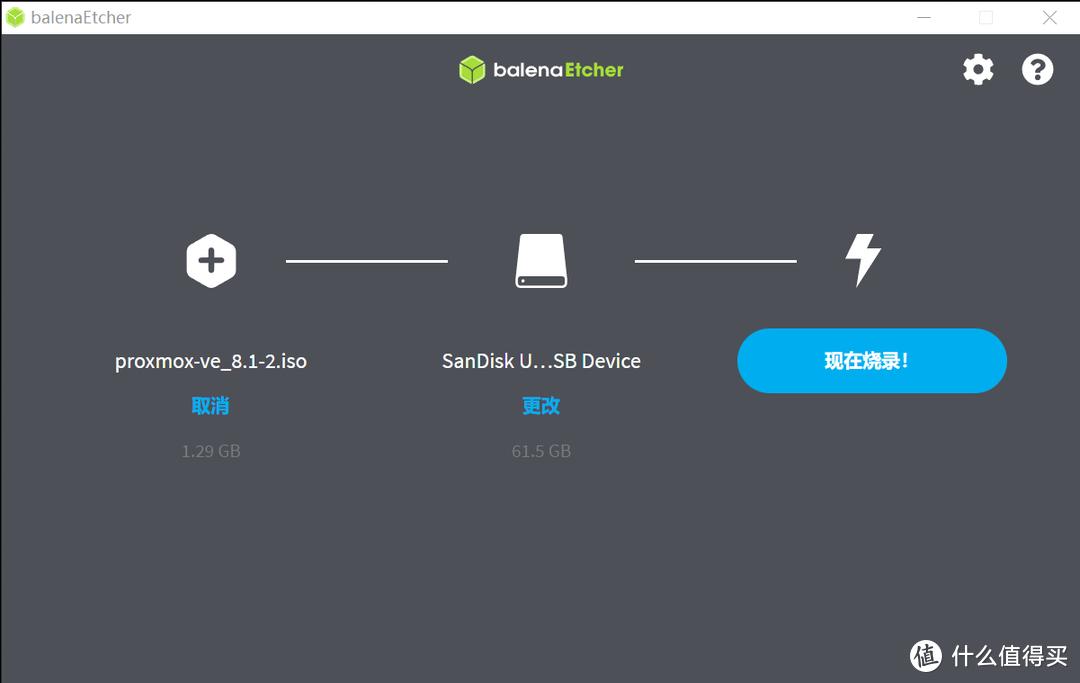
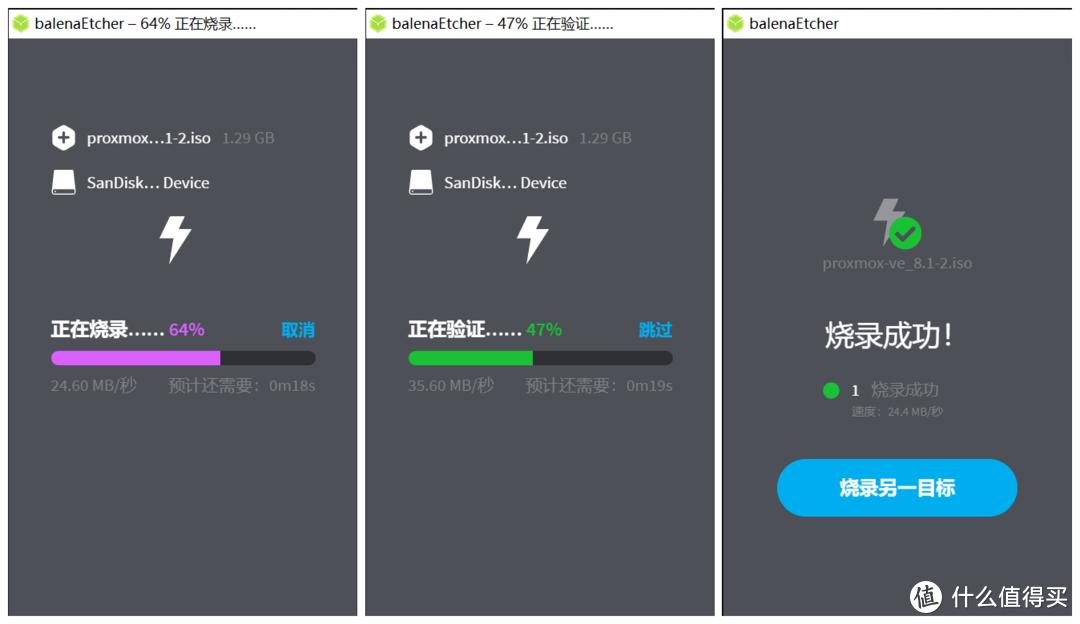
If you need a computer running Windows or macOS, you will also need a USB flash drive with a capacity of at least 8GB. Go to the download page of the Proxmox official website to obtain the latest PVE 8.x version ISO image file. Use tools such as Rufus or balenaEtcher on your computer to write the downloaded image to a USB flash drive to create a boot disk.
Starting and installing the system
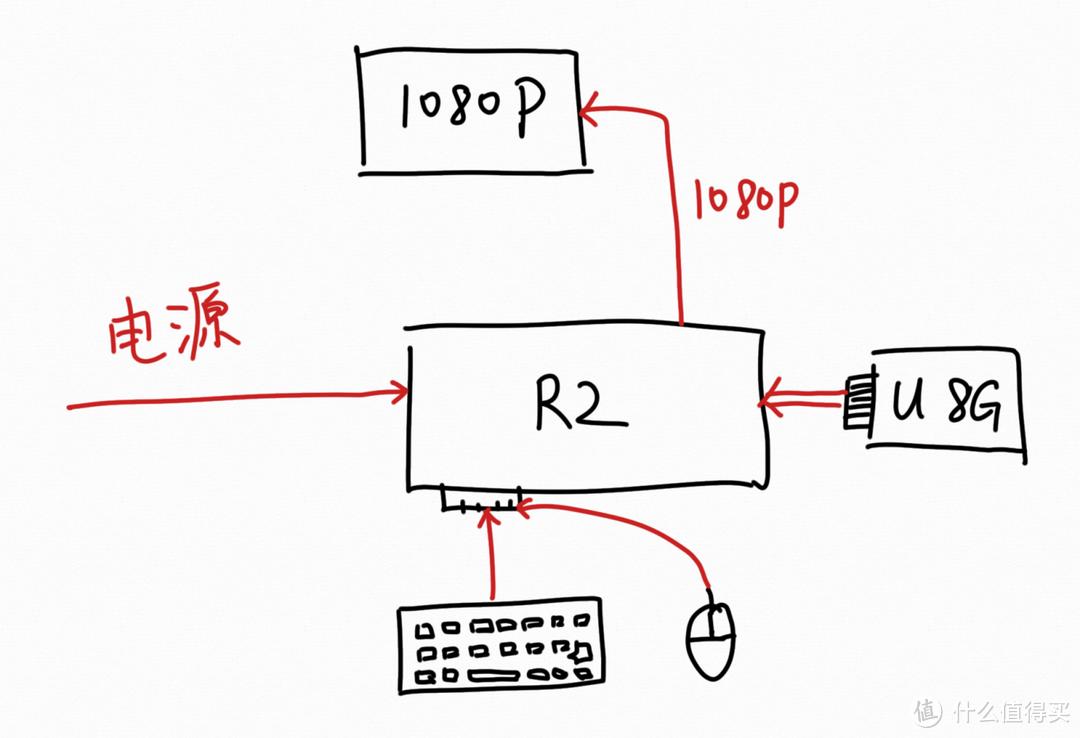
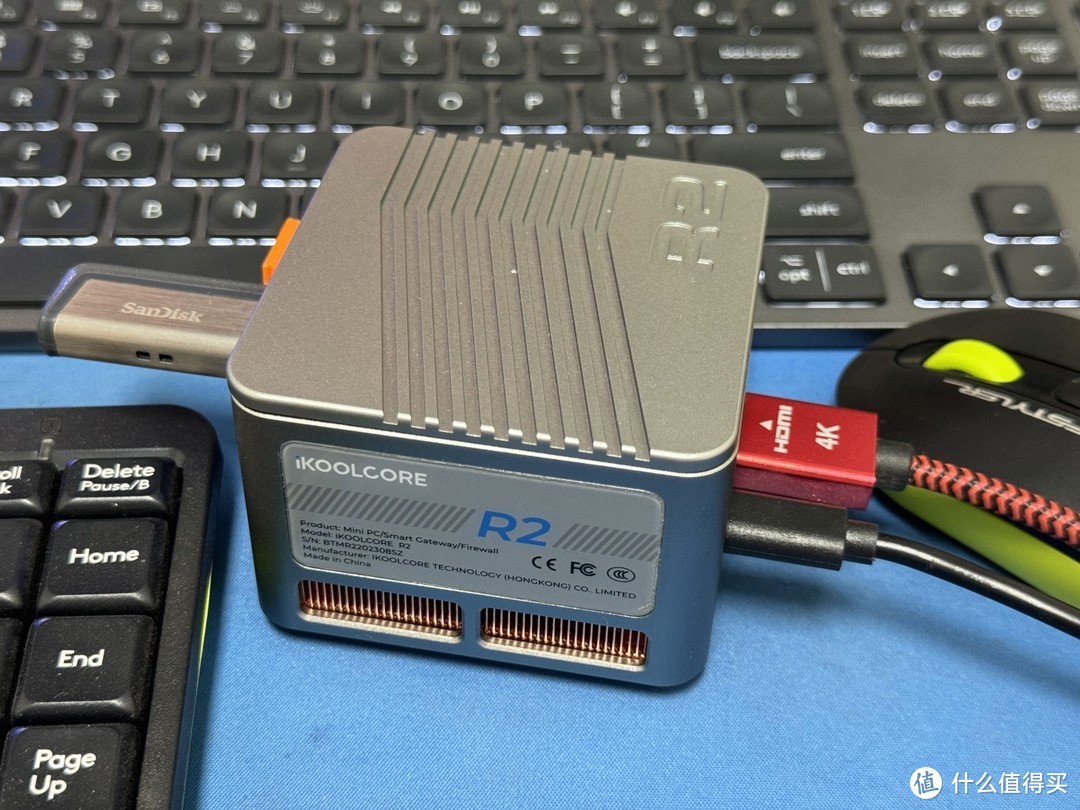
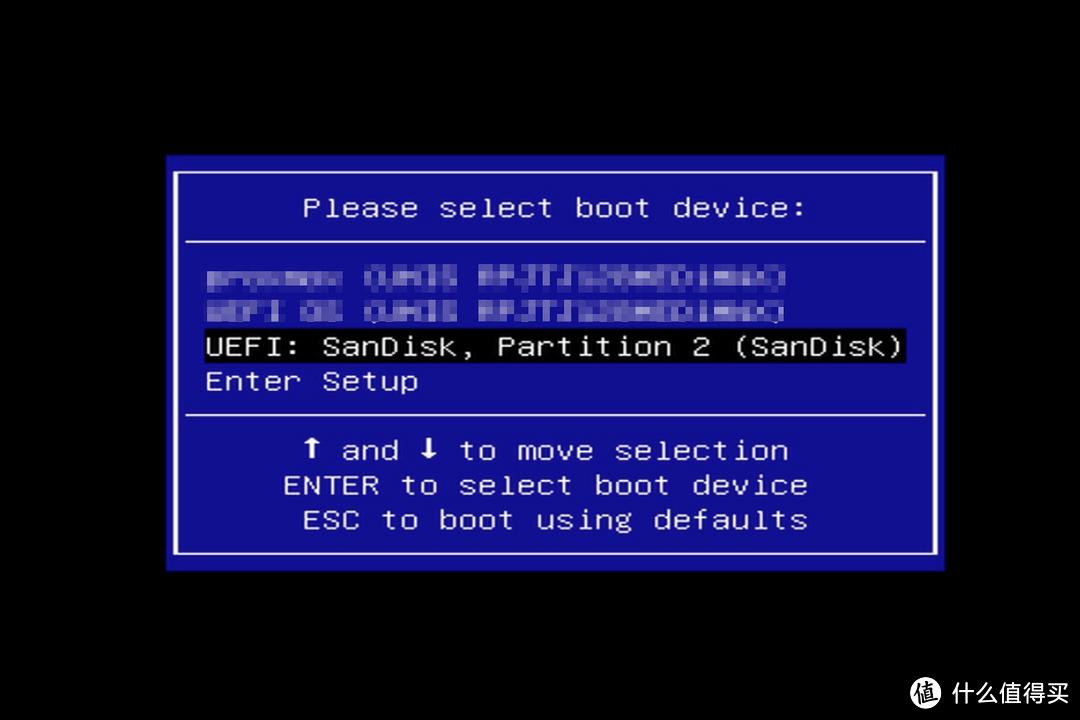
Insert the completed bootable USB disk into the USB interface of Hardcool R2, and connect the monitor, keyboard and power supply. After turning on the machine, quickly press the F2 or Delete key to enter the motherboard BIOS setting interface. In the startup options menu, set the USB disk as the first startup item, save the settings and then restart. The machine will boot from the USB flash drive and enter the Proxmox VE installation program interface.
Configure network and disk

Follow the prompts on the screen to choose the hard drive to install. Generally speaking, that is the SSD built into the R2. Next comes the crucial step. The installer will be aware of the machine's multiple network ports. You have to set eth0 (usually the network port corresponding to the bottom row of the machine) as the management port and assign it a static IP address, such as 192.168.1.100, which will be the access address for the future management web page. Other network ports like eth1 and eth2 can be configured after installation.
Complete basic installation
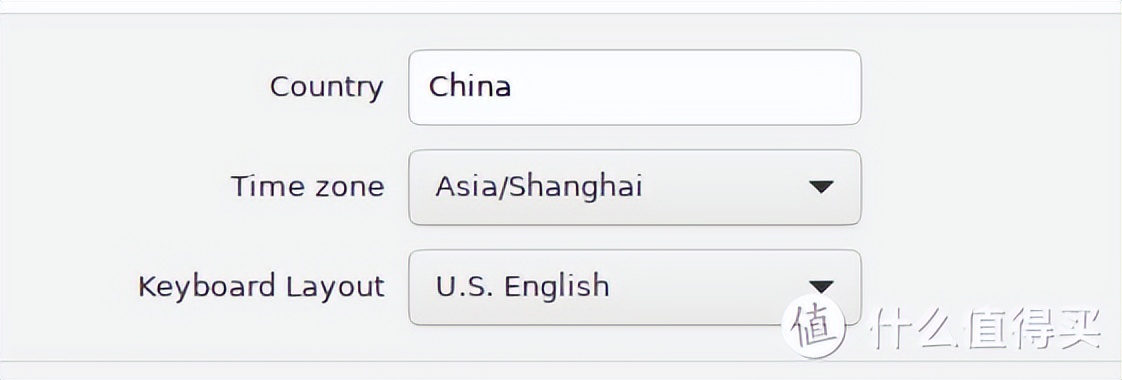
Set the country, determine the time zone, arrange the keyboard layout, then enter a strong password and a valid email address to receive system notifications. After confirming that all this information is correct, the installation program will write the system to the hard disk on its own. The entire process lasts about 5 to 10 minutes. After the installation is completed, the system will prompt you to restart. Unplug the USB flash drive at this time, R2 will boot from the hard disk and enter a new PVE system.
One-click script optimization and pass-through
After the system starts, use the browser of another computer on the network to access the management IP address you set (like https://192.168.1.100:8006). After the first login is completed, in order to improve the user experience, a pre-prepared Shell script can be run. This script can automatically complete several tasks: replace the software source with a domestic image to speed up updates, install gadgets needed to reveal CPU and hard disk temperatures, and optimize some system parameters to reduce virtualization performance loss.
Configure PCI device passthrough
If you want to achieve pass-through operation of the network card, you must first enable the corresponding functions. In the node Shell of the PVE web page, edit the GRUB boot file and add "intel_iommu=on" to the corresponding parameter line to enable IOMMU. Follow the update instructions and restart the host. After restarting, select your R2 node under the data center view and enter the "Hardware" panel. Here you can see all pass-through PCI devices, find the corresponding Ethernet controllers (such as the network cards corresponding to eth1 and eth2), and add them to the pass-through list one by one.
In order to make the virtual machine performance more suitable for your use case, such as maximizing the core graphics utilization of the N95 processor, when creating a virtual machine, you can consider using the NFS protocol to mount the storage space of other NAS in the LAN. At the same time, it would be quite convenient to configure a virtual machine with a lightweight desktop environment to access and manage services that only have a Web interface on the intranet.
When configuring your home network, do you prefer to hand over all devices to ikuai for unified management, or do you prefer to divide independent network segments and strategies for different device groups?